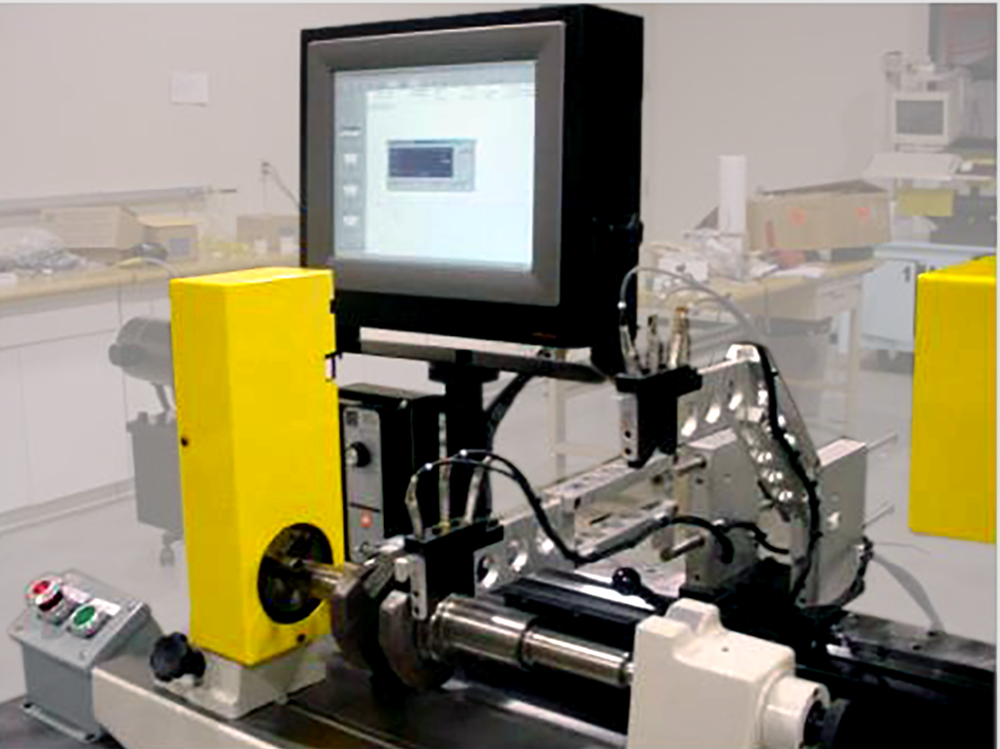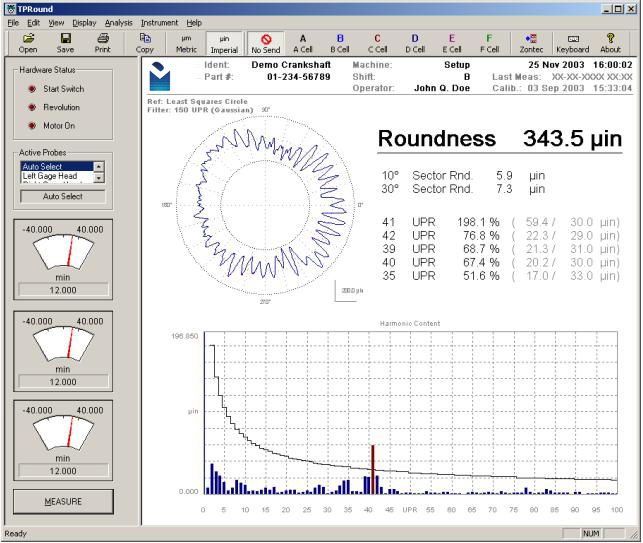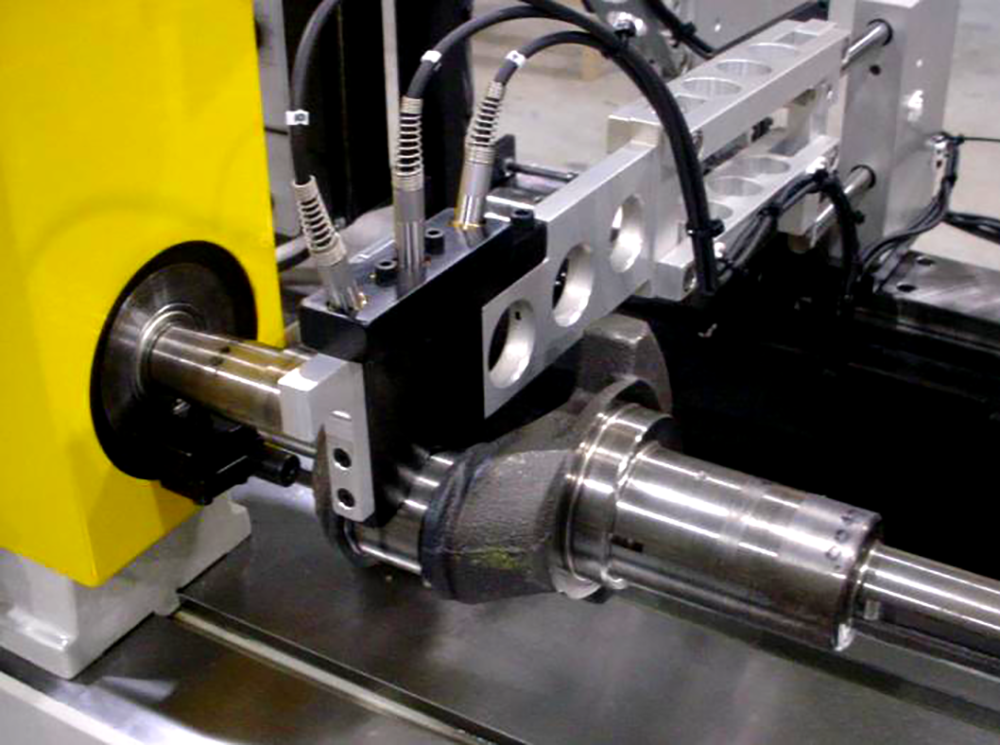
Digital Metrology teamed up with an engine manufacturer and a major US university to develop a “shop floor” system for measuring roundness and harmonics. The system controls the measurement of roundness and harmonics of crankshaft features to tolerances on the order of 100 millionths of an inch (2.5 micrometers).

Rather than relying on a precision spindle, the system utilizes a “three-probe” approach that decouples the form errors of the component from the movement. The result is a system that quickly and accurately measures roundness in a production setting without the need for a precision spindle or a time-consuming levelling and alignment process.

Created in collaboration with UNC Charlotte Center for Precision Metrology and Nelson Precision
