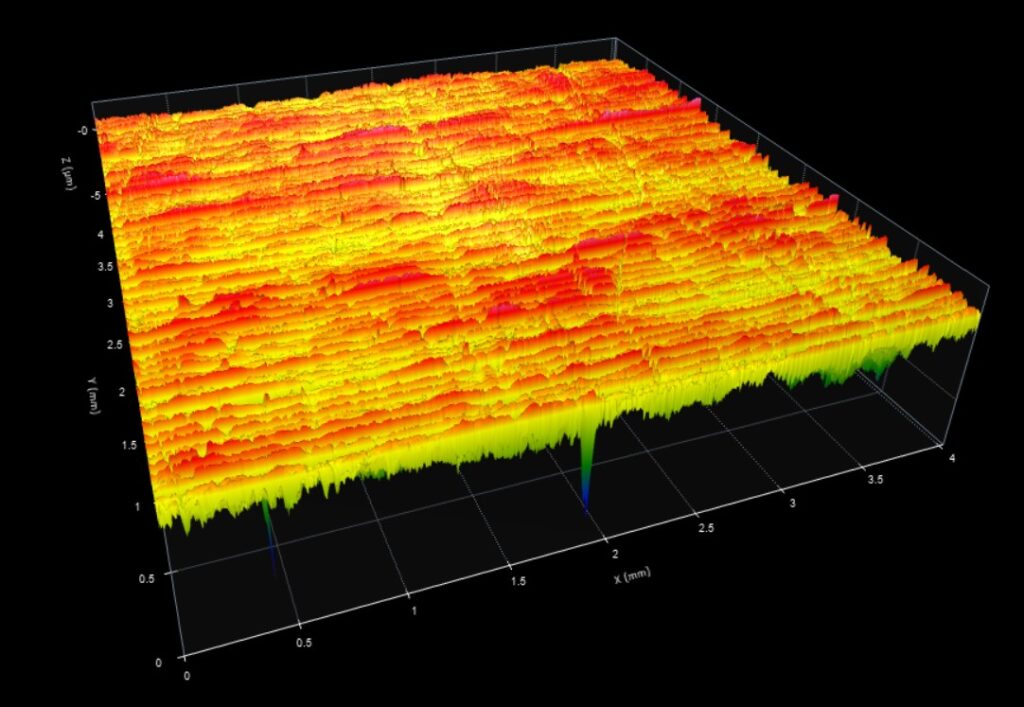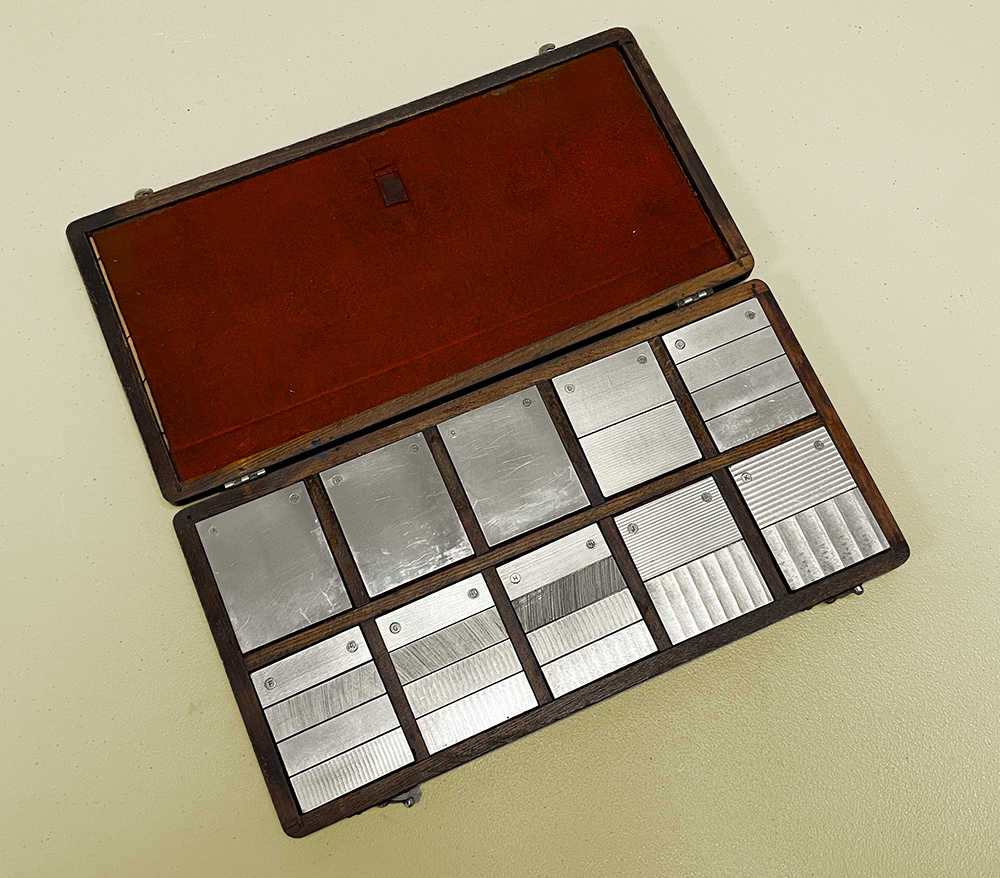
GE 8651831G1 roughness specimens have been (historically) very popular in the measurement of surface texture. They show up in a lot of places… in documents and standard operating procedures, as well as for sale on eBay and industrial supply resellers.

Measured via Zygo ZeGage Plus (10x)
Data source: Digital Metrology
Data format: .os3d (open with OmniSurf3D)
Datasets in this group
GE Roughness Specimen K2GE Roughness Specimen K1
GE Roughness Specimen J1
GE Roughness Specimen J2
GE Roughness Specimen H4
GE Roughness Specimen H3
GE Roughness Specimen H2
GE Roughness Specimen H1
GE Roughness Specimen G4
GE Roughness Specimen G3
GE Roughness Specimen G2
GE Roughness Specimen G1
GE Roughness Specimen F4
GE Roughness Specimen F3
GE Roughness Specimen F2
GE Roughness Specimen F1
GE Roughness Specimen E4
GE Roughness Specimen E3
GE Roughness Specimen E2
GE Roughness Specimen E1
GE Roughness Specimen D2
GE Roughness Specimen D1
GE Roughness Specimen C
GE Roughness Specimen B
GE Roughness Specimen A
Back to GE Roughness Specimens (25 Datasets)
Please log in below to download the datasets. If you’re new to the page, please take a moment to register here.
I forgot my password
How to cite
If you use this dataset, please reference it as follows:
Digital Metrology Solutions. “Surface Library.” Digitalmetrology, digitalmetrology.com/dataset/ge-roughness-specimen-d1. Accessed May 08, 2026.


