In a new article in Quality Magazine AJ Mennuti and Mark Malburg discuss the challenges associated with the release of ASME Y14.5-2018 and its new fundamental rule “s.”
Rule “s” specifies that the evaluation of GD&T features includes every aspect of a surface’s texture and flaws. When measuring straightness, say, one must include the roughness, pores, cracks, etc., within that measurement.
While rule “s” is intended to clarify the measurement of GD&T features, it ultimately leads to some untenable measurement conditions. If one tries to measure large features with sufficient resolution to detect the fine details required by rule “s,” either the measurement time or the data set set, or both, will prove infeasibly large.
Nevertheless, the standard needs to be addressed…check out the article here.

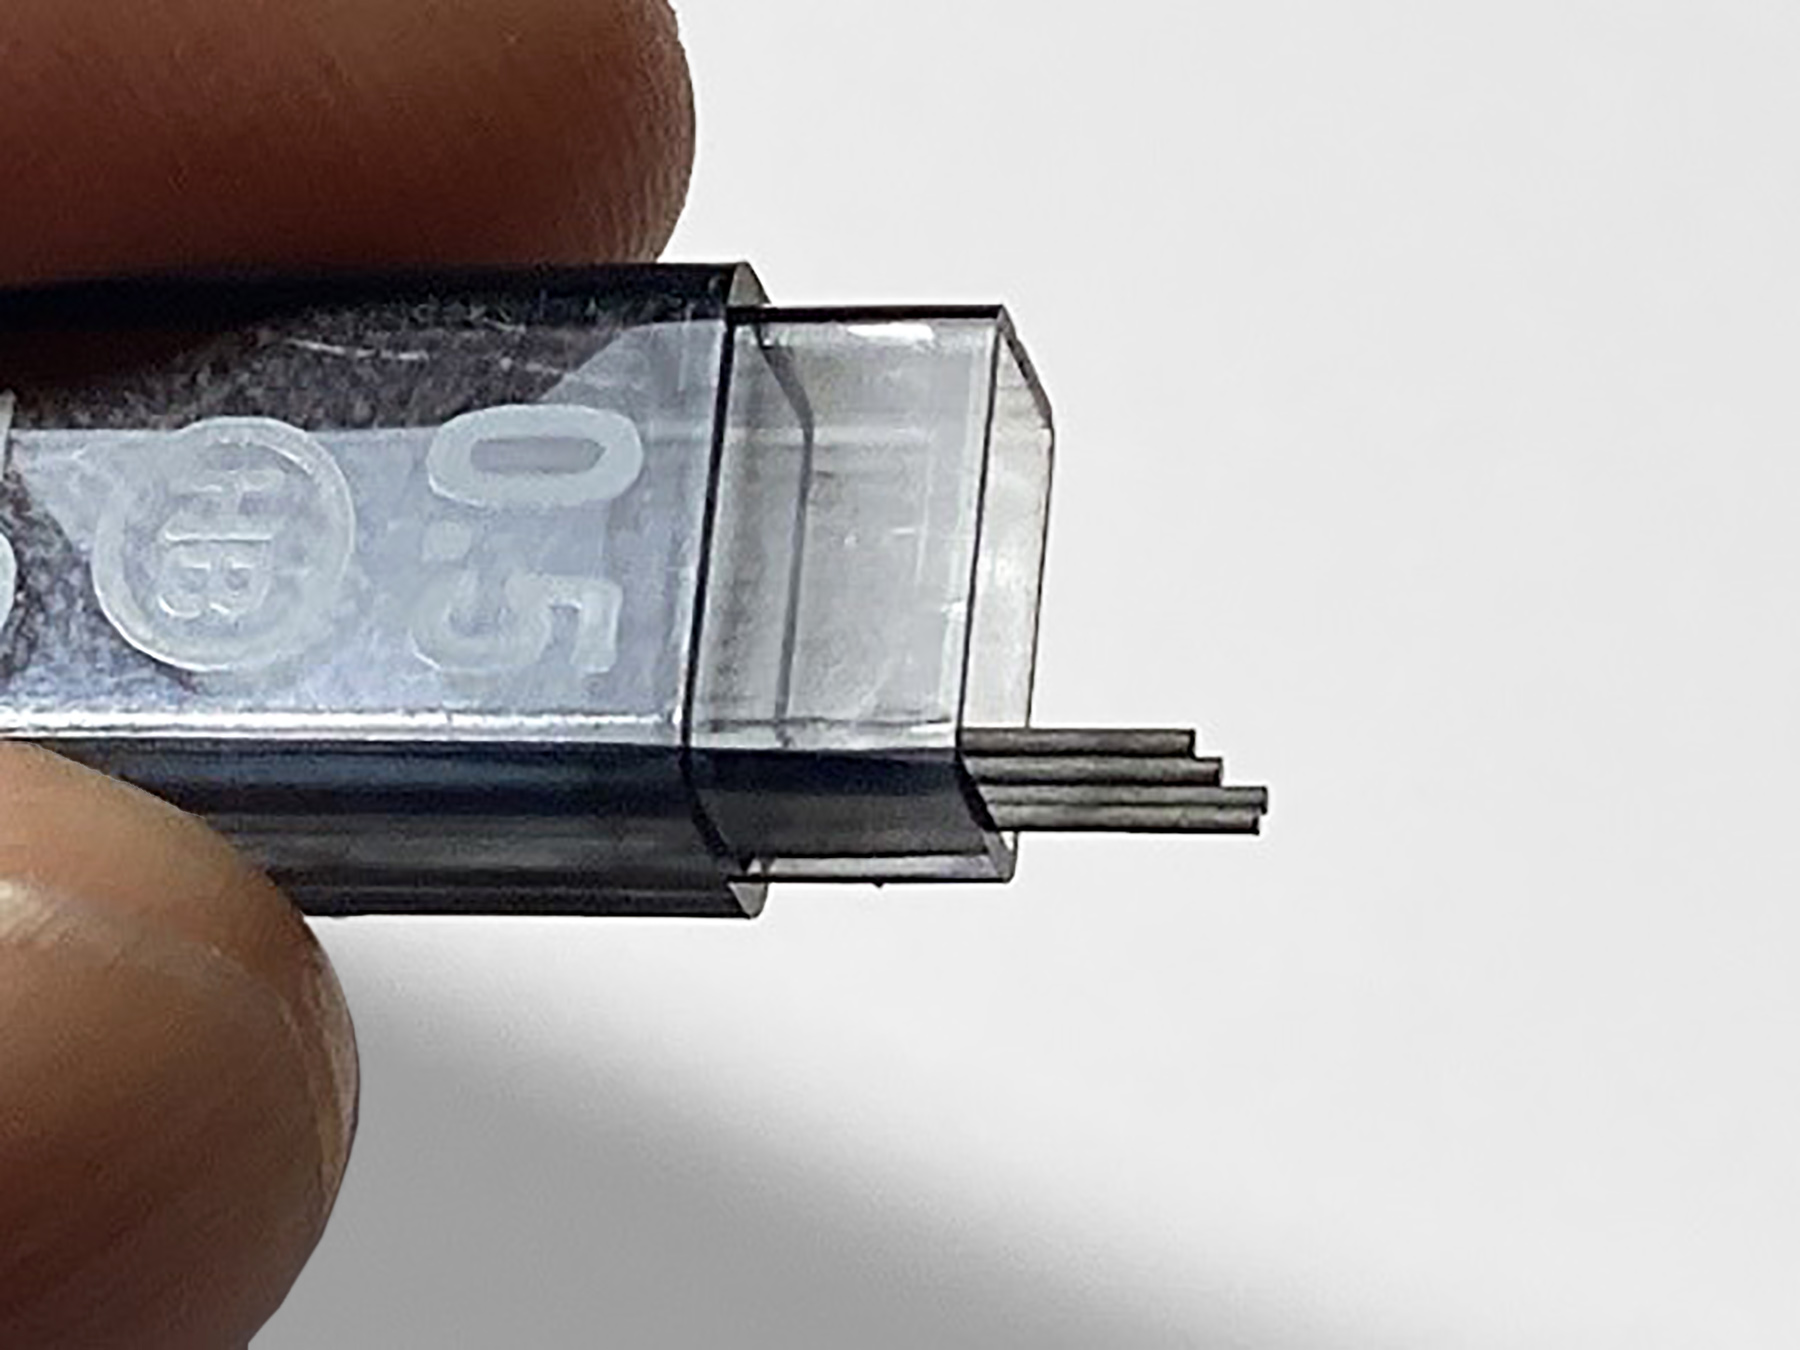
Per the ASME Y14.5-2018 rule “s,” roughly 1,000,000 data points would be required to assess the flatness of the tip of a mechanical pencil refill.
