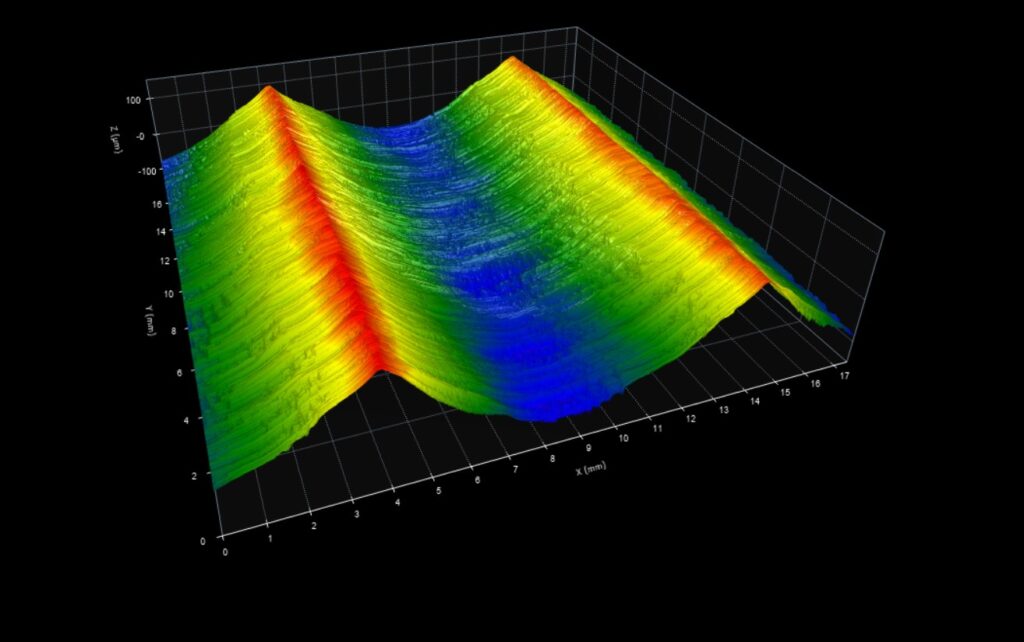
GE 8651831G1 roughness specimens have been (historically) very popular in the measurement of surface texture. They show up in a lot of places… in documents and standard operating procedures, as well as for sale on eBay and industrial supply resellers.
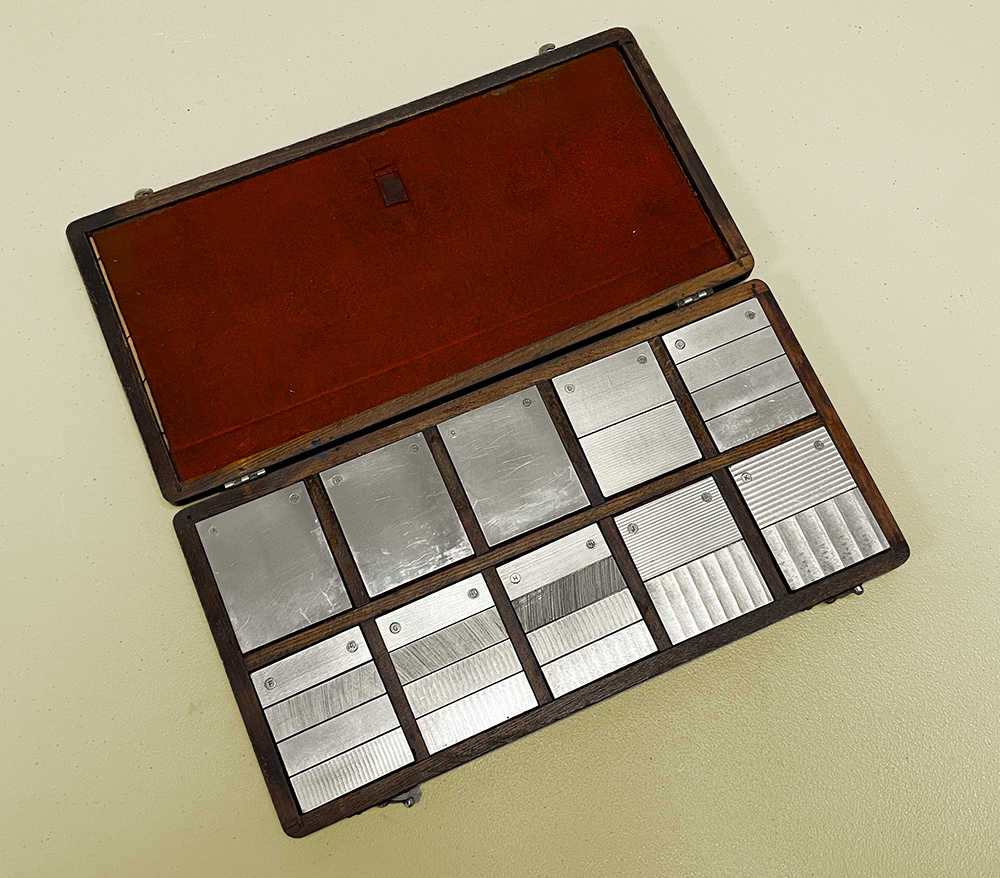
Many of these specimens have been in use for a long, long time and definitely have some wear and tear.
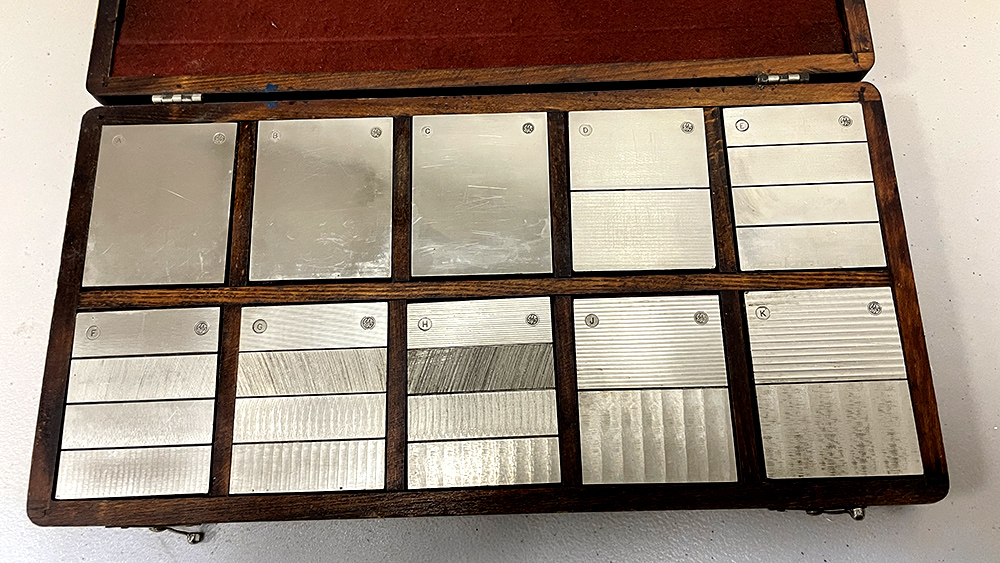
But how good are they in today’s terms? We put a full set of well-used specimens under the ZeGage lens and are happy to share the datasets with you. They are interesting in several ways:
- for exploring the certified roughness values (expressed in “microinches”) on the certificate.
- for exploring various types of surface damage including deposits as well as scratches.
- for exploring the slope and spacing differences for surfaces which are said to have the “same” roughness values.
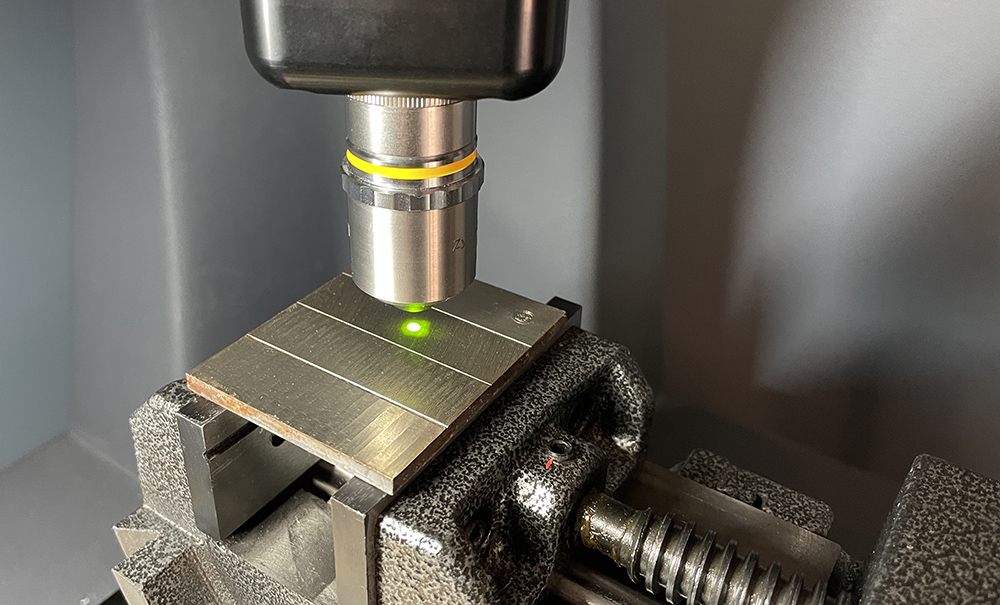
Measured via Zygo ZeGage Plus (2.75x)
Data source: Digital Metrology
Specimen A
Specimen B
Specimen C
Specimen D1
Specimen D2
Specimen E1
Specimen E2
Specimen E3
Specimen E4
Specimen F1
Specimen F2
Specimen F3
Specimen F4
Specimen G1
Specimen G2
Specimen G3
Specimen G4
Specimen H1
Specimen H2
Specimen H3
Specimen H4
Specimen J1
Specimen J2
Specimen K1
Specimen K2
Please log in below to download the datasets. If you’re new to the page, please take a moment to register here.
I forgot my password
How to cite
If you use this dataset, please reference it as follows:
Digital Metrology Solutions. “Surface Library.” Digitalmetrology, digitalmetrology.com/dataset/ge-roughness-specimen-k2. Accessed Dec 21, 2024.

