Controlling surface texture requires graphical data—and teamwork
You’ve seen that controlling surface texture offers huge benefits for performance and wear. You’ve made the investment in measurement equipment.
So, is there any benefit in spending more money on additional analysis software? We asked one of the most successful people in motorsports to find out. Here’s a hint: the answer is 200% Yes!
 Billy Godbold of Godbold Engineering.
20% improvement … or 200% improvement?
If you spend much time in the racing world you’ve likely heard of Billy Godbold. He’s spent decades at the top of the game, working with the likes of COMP Cams, Edelbrock, and now Godbold Engineering, to improve camshaft technology. In that time, his engines have won races in just about every motorsport event you can name.
When Godbold began working to improve camshaft performance, he focused almost exclusively on the materials. “We were looking deeper and doing better than anybody. We were proud about what we did to make it better.” Nevertheless, he realized that addressing the materials alone would not get them the performance they wanted. Even using “the best materials on the planet,” they could only improve performance by 20%.
Godbold and his team visited OEM diesel engine manufacturers to learn how they were able to make components that could survive one million miles of heavy use. He noticed that they were using good materials, but nothing exotic. When Godbold mentioned the improvements that his own team had achieved, “Someone at the facility said, ‘What if I told you that we improved our performance by 200%?’”

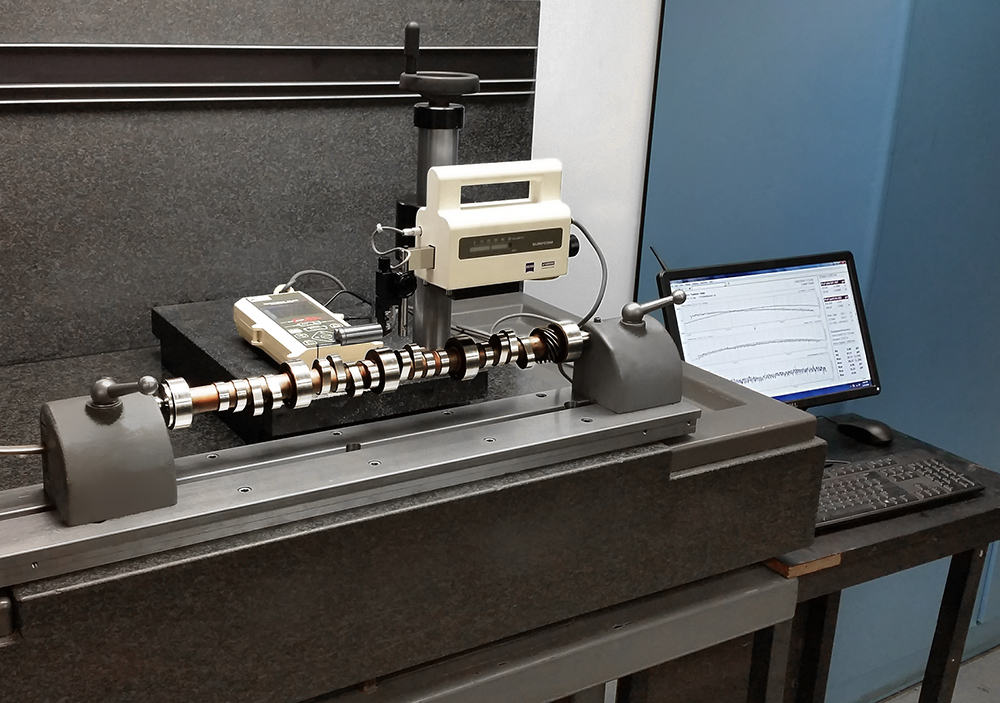
A camshaft test station. The stylus profilometer provides surface data—OmniProfile analysis software converts it to visual information.
Courtesy of COMP Cams.
One of the company’s lead R&D engineers told Godbold how they had made such huge strides by focusing on surface texture rather than materials. They developed methods to spread the load evenly across the bearing area, netting huge improvements in durability and performance. “I’d been trying like crazy to make a 20% improvement,” said Godbold, “when there was a 100–200% improvement staring me in the face.”

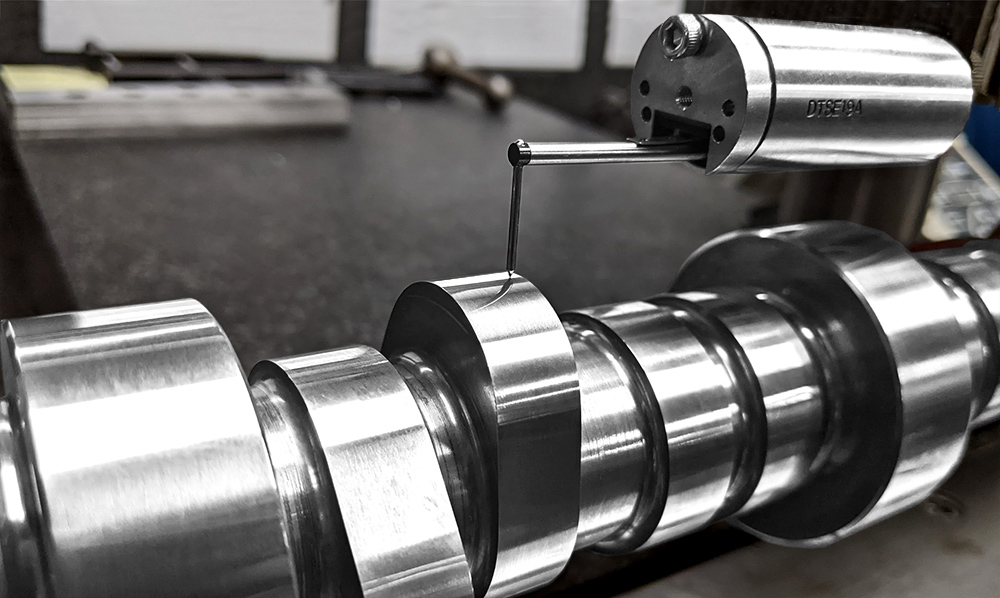
Measuring the surface texture of a cam lobe. Courtesy Chris Potter and COMP Cams.
Measuring System + Analysis Software = Performance
Godbold and his team purchased a surface texture measuring system and Digital Metrology’s OmniProfile software, which they began using to examine all aspects of camshaft production. “A profilometer gives great raw data, but the software lets you see all the aspects of the texture. The profilometer wouldn’t have been very useful for us without the software.”
In one project, the team at COMP Cams was working to diagnose high spots on a camshaft which were interacting with the roller wheels and causing premature wear. From the raw stylus numbers, “It was difficult to see where waviness would load the wheel. Once we were able to break it down graphically, we had 100% correlation to what we were experiencing. We could see exactly, ‘There’s the high spot right there.’” Armed with the visual data, they were able to locate, and ultimately correct, the high spots that led to premature spalling failure.

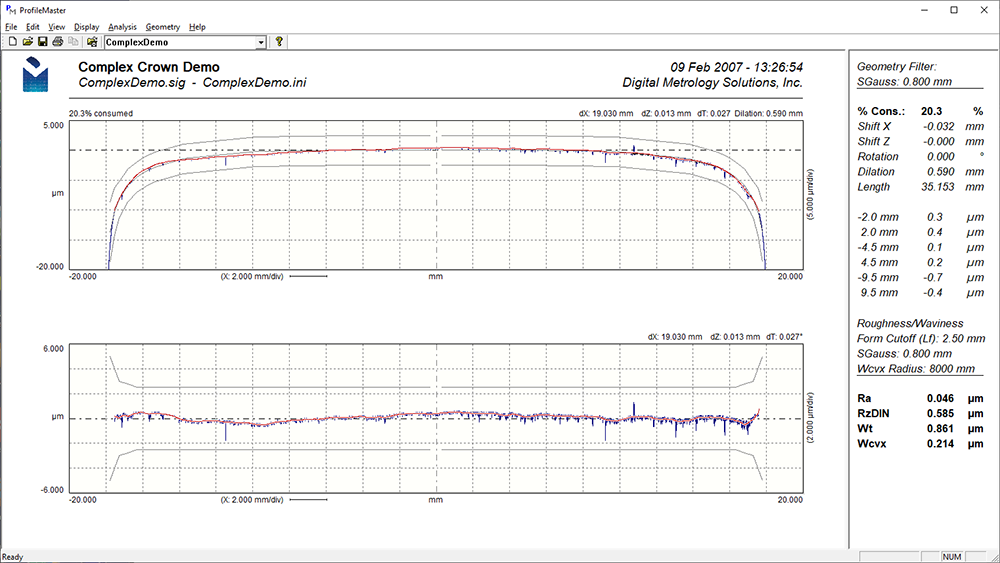
A complex crown shape made graphical in Digital Metrology’s OmniProfile software.
Making data communicate
For Godbold, communication is an engineer’s greatest strength. “In a classroom you’re given a test, you give answers by yourself. In the real world it’s not enough to just have the answer in your mind; you need to be able to present your ideas in a clear way to everyone you work with.”
“Nothing is better than a picture.”
Godbold says that software like OmniProfile provides visual information, making sense of the numbers for everyone at the company. “No matter how good you are at guessing what it looks like,” he says, “nothing is better than a picture. Even if I can visualize it, there’s a high likelihood that the person I’m working for, the people running the gage, the people manufacturing in the shop, and the customer are not seeing that as clearly.“
“A number could have never done that.”
“When you can present the information graphically, then you can talk to everyone down the line. The guy dressing the wheel gets excited about how he could make it better. A number could have never done that.”
Getting the entire factory working toward improvement
When everyone in the process can share the data, improvement becomes the norm. Goldbold described a common relationship between machine operators and quality control inspectors when inspection is based on raw measured numbers. “The operators are like the drivers, and QC are like traffic cops handing out tickets. When the data is visual, now QC isn’t just writing tickets, they’re giving good information. Once you have the picture, and you can see what you’re doing, it becomes two guys working together to fight a problem.”

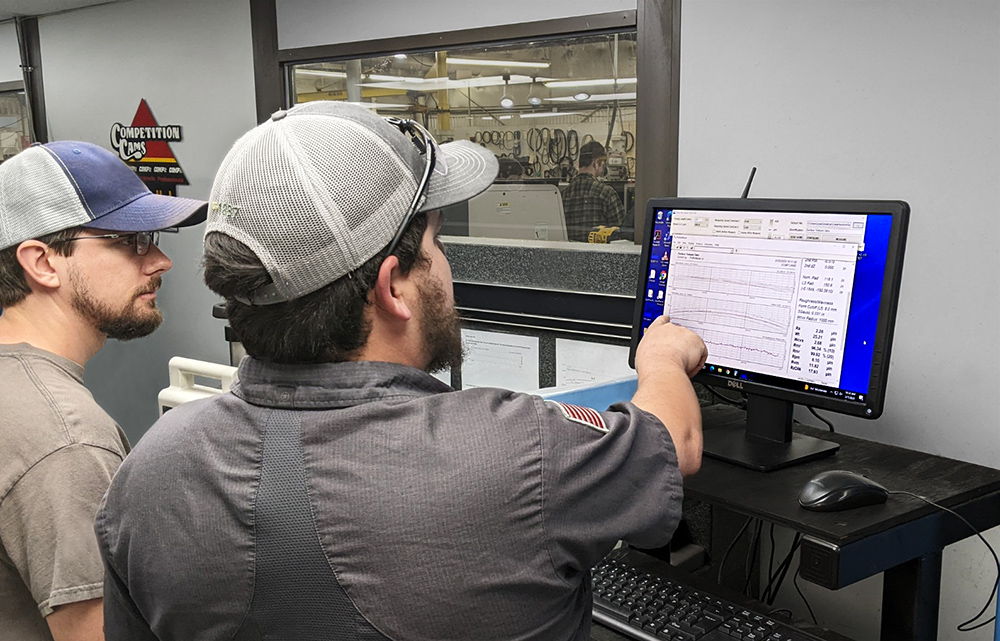
An operator and engineer discuss camshaft lobe surface data in Digital Metrology’s ProfilerMaster software. Courtesy Chris Potter and COMP Cams.
Now, when his operators have questions, they head to the quality lab, ask the QC staff to make a measurement, and look at it together on the screen to solve the issue. Visual software provides the communication that drives their performance gains.
Chris Potter, Valve Train Engineering Manager at Edelbrock, and former colleague of Godbold, of agrees with this assessment. “We’ve used this analysis approach on all forms of valve train products, including rocker arm tips, valve tips, and lifter faces. Our understanding of surface finish has increased 100-fold, and it’s helped us improve our engineering creativity and product performance, well beyond just the camshaft.”
Data-driven improvement
Godbold’s success in racing has been directly attributed to data and communication. “Making a decision without data—there’s a very scientific term for that: guessing,” he says.
His team maintains all of their measurement data and visual data so that they can track trends over time, and quickly recall the best process parameters for any job that comes into the shop. As Godbold points out, “The data says when I need to change the grinding wheel dress, wheel speeds, etc.” A roughness gage on its own does not output data that can be stored and recalled: the analysis software provides this invaluable service.
Having Digital Metrology as a partner has been critical to ongoing improvement as well. “Mark Malburg’s been so good. He’s helped us fight some tough battles and has made some big sea monsters into guppies. His professional life has been about communicating surface character in a way that’s helpful, and that passion is in every Digital Metrology product.”
“Problems just absolutely, positively went away.”
Impacting the bottom line
A measurement system is essential for process control, but the analysis software makes it valuable, by converting data to information that can be shared and acted upon. Armed with information, a company can make the improvements necessary to achieve performance goals and address quality issues.
Godbold summarizes it this way: “I can’t think of anything we’ve done that has impacted our warranty reports like getting serious about surface engineering. When we got serious about surfaces, and using the software, it was like problems that occurred over and over just absolutely, positively went away.”
