Have you ever used an optical microscope to look at dimensional features? It’s a fairly common task to look at lateral features such as circumferences on relatively flat components like plates, panels, and even circuit boards.
Many measuring microscopes (or “optical dimensional microscopes”) also incorporate some method of optically measuring heights—and thus many systems report numbers for “surface texture.”
Not all “surface texture measurement” is created equal
There is a big difference between optical dimensional measurement systems and optical surface texture measurement systems.
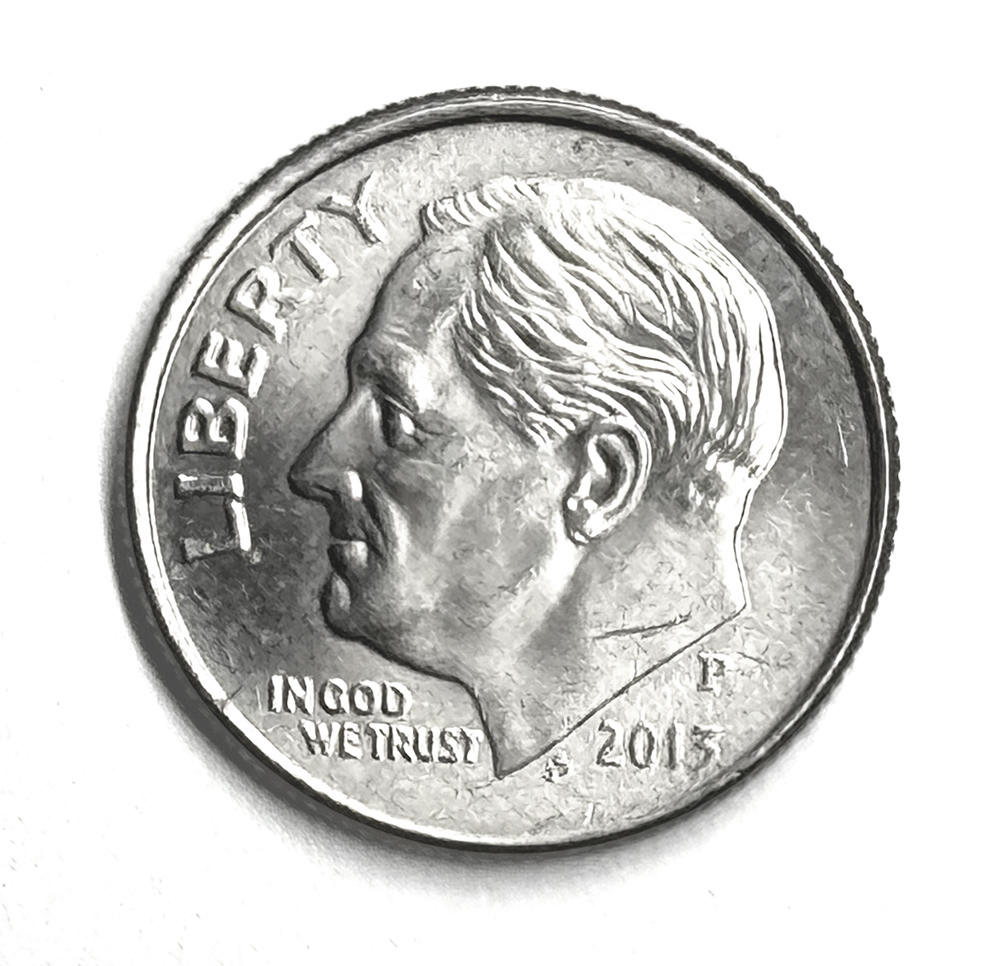
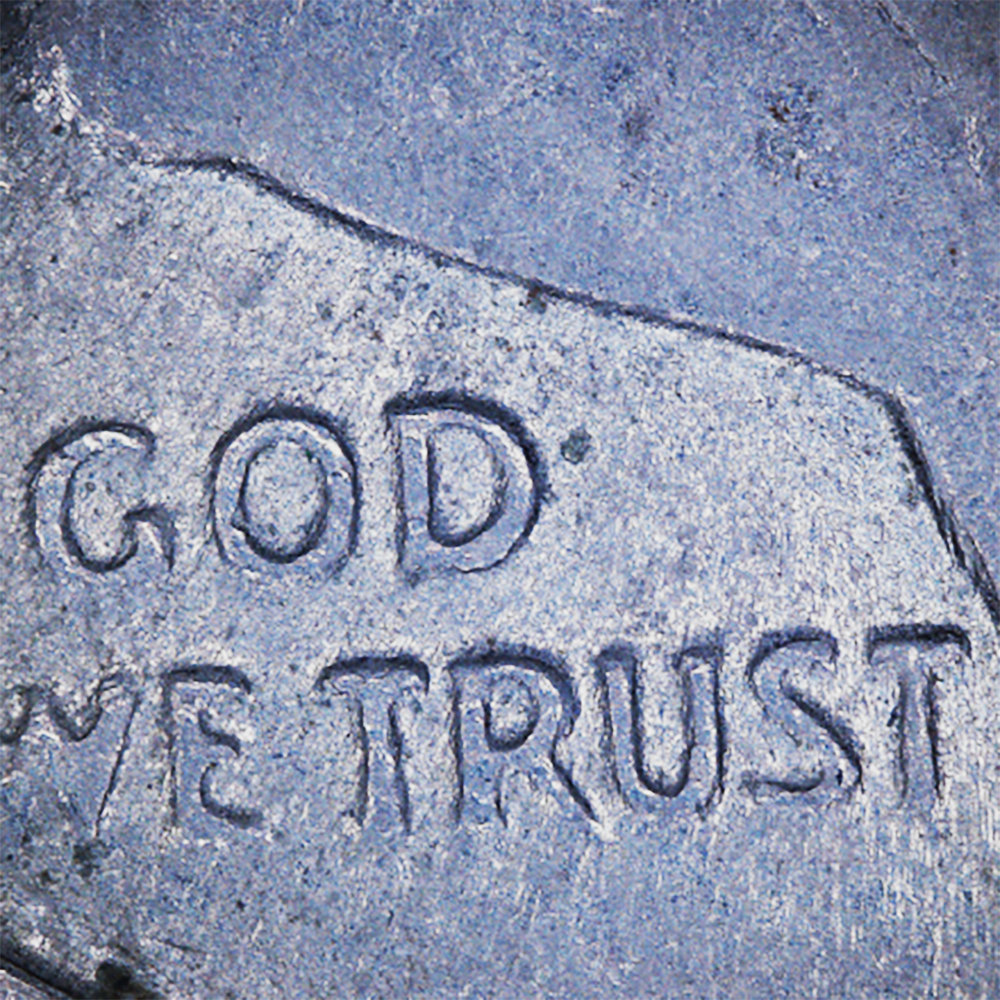
As an example, let’s look at the small lettering on a US dime.

If we image the coin under the microscope, we get a very detailed picture:

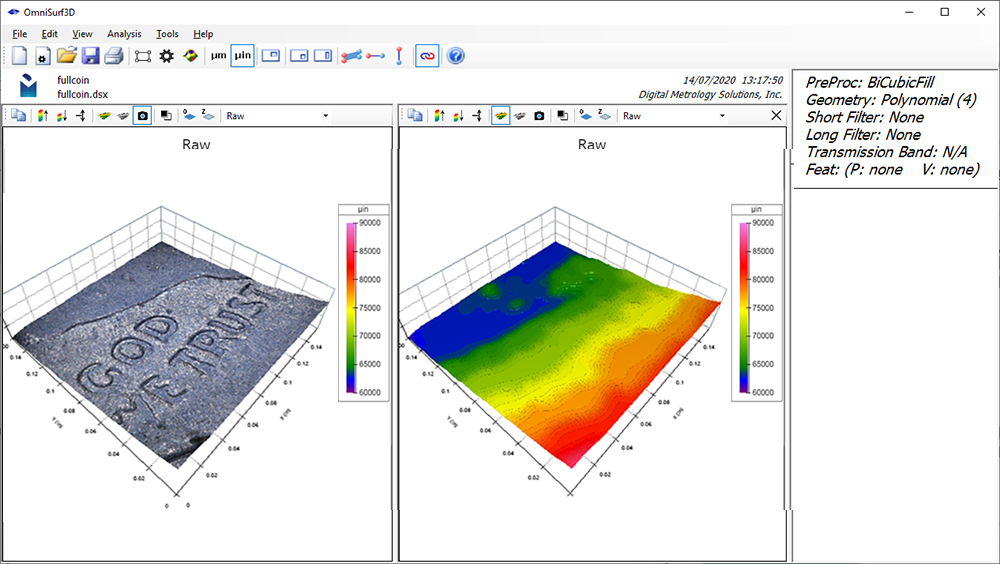
The 3D surface data in the microscope software also looks quite detailed (though with a bit of tilt relative to the lens). The system is reporting values for the texture parameters…
So, are these accurate heights?
The short answer is: no.
In OmniSurf3D software we can import the microscope image as an Image Overlay. We can also open the 3D data as a false color height map, then view it side-by-side with the overlay. The cool thing with OmniSurf3D is that it lets us sync the two views while we move and spin the data.

Looking at the false color 3D data, we can see that the lettering wasn’t resolved at all! The height resolution wasn’t sufficient to resolve the lettering—the shadows in the overlay image had us fooled.
If we can’t resolve the heights of the letters, we’re certainly not measuring the roughness within the letters. In this case, those 3D texture values that we “measured” are simply not meaningful.
Where did we go wrong?
Optical dimensional microscopes take excellent images with sufficient resolution to measure lateral dimensions. In some cases, the focusing methods may be sufficient to calculate heights as well. But we need to look carefully at the 3D data to see whether there’s enough information at the scale we need in order to get meaningful measurements.
OmniSurf3D is invaluable for this kind of verification. It doesn’t just help you see and explore your surfaces—it can also help you to validate and trust your measurement data!
