Textured plastics are everywhere. Just looking across my desk, I see molded texture on my monitor stand, the wireless USB holder, the remote controls, the keyboard, my water bottle…
It’s easy to take these surfaces for granted because they are so common. But in reality, a LOT of engineering goes into making these common surfaces look good and feel good.
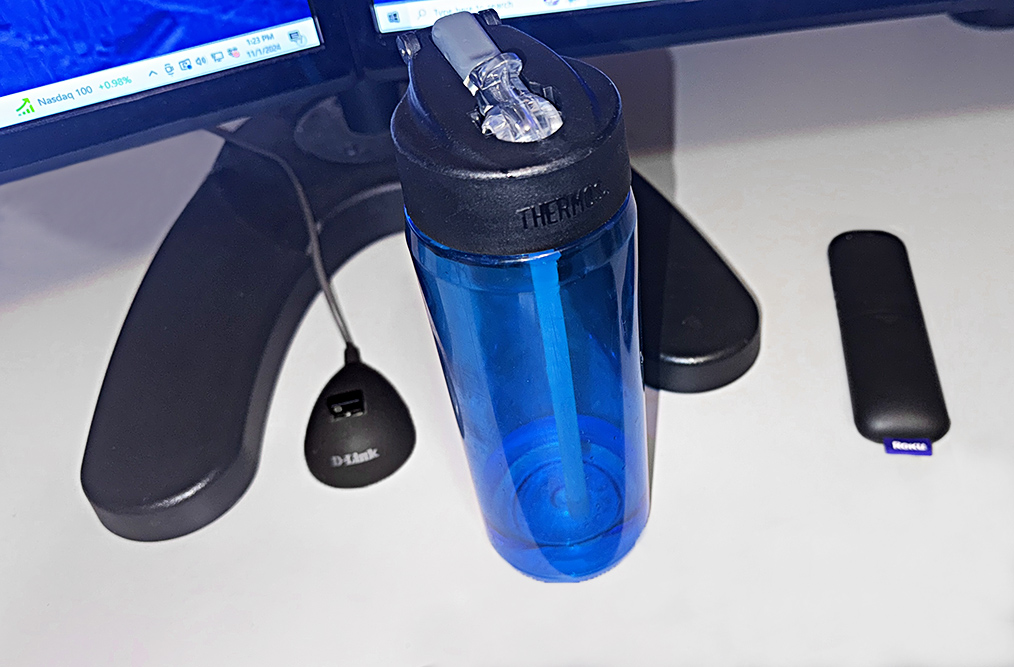
Textured plastic surfaces are everywhere
How are plastic textures specified?
Most likely, these textures were specified by calling out a mold texture reference surface number. These reference cards (even books with pages and pages cards) can provide a straightforward way to specify a finish for a molded plastic part.
The texture card below includes surfaces based on the VDI 3400 standard. Other common systems include SPI (Society of the Plastics Industry) and Mold-Tech.
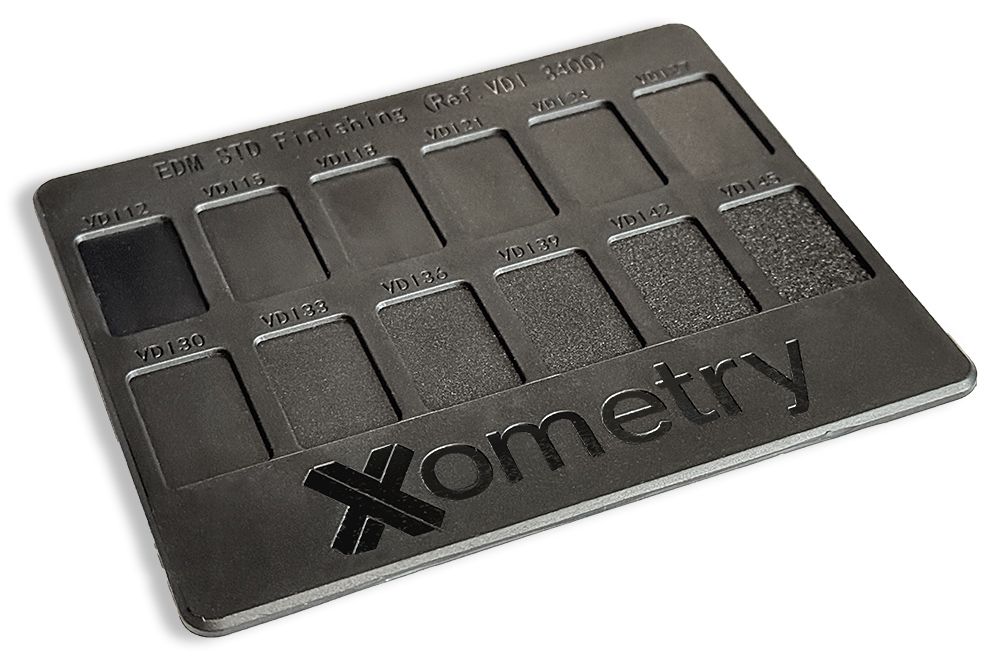
A VDI 3400 texture card (Xometry).
A molded plastic texture is typically “controlled” by visual inspection. An inspector is most often looking for defects, such as drag lines or sink/shrink marks. But as a mold wears over time, the depth and sharpness of the etched finish will also degrade—and these aspects are harder to see. Companies aiming for more consistent, higher-end finishes may find that visual assessment alone is not enough to establish whether a mold finish is still sufficiently “sharp” or “veiny” or “pebbled.”
The challenge is even greater for finer textures. Determining whether a molded surface is still sufficiently close to a VDI18 texture (below), or whether it has drifted too far and is now closer to VDI15, is likely to be open to interpretation.
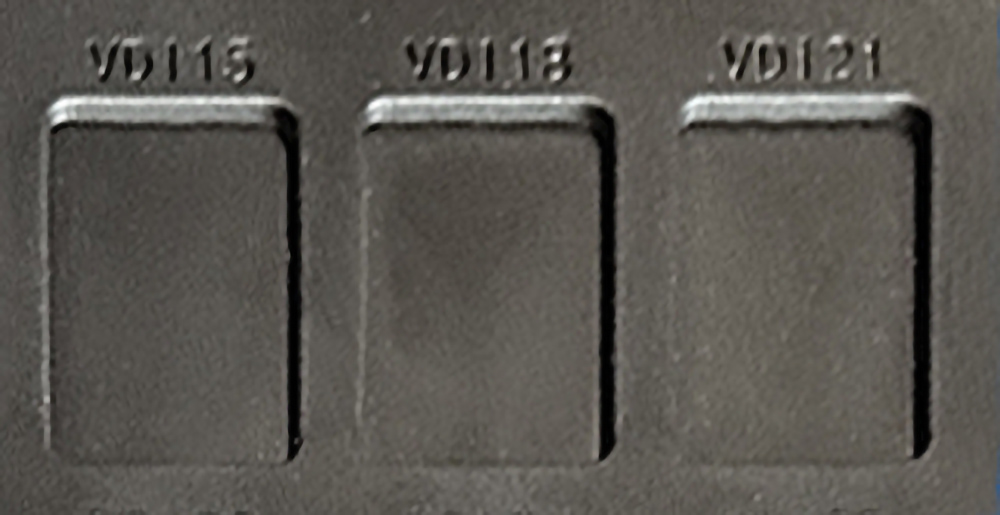
It’s difficult to distinguish between finer textures.
Need more control? You’ll need measurement data
For surfaces that are functional as well as aesthetic, you may need to control specific aspects of the texture. In an automotive lighting application, say, a surface may need to randomly scatter and/or reflect light, as well as being visually flawless. A medical device’s performance may be impacted by directionality (lay), spacing between micro-peaks, etc. Simply specifying a Mold-Tech or SPI texture number won’t help you guarantee performance.
In recent years many manufacturers have shifted to describing plastic surface texture using numerical values—similar to what’s happened in metals machining. Measurement data can provide a huge range of surface texture parameters, which give you an objective footing for process and quality control.
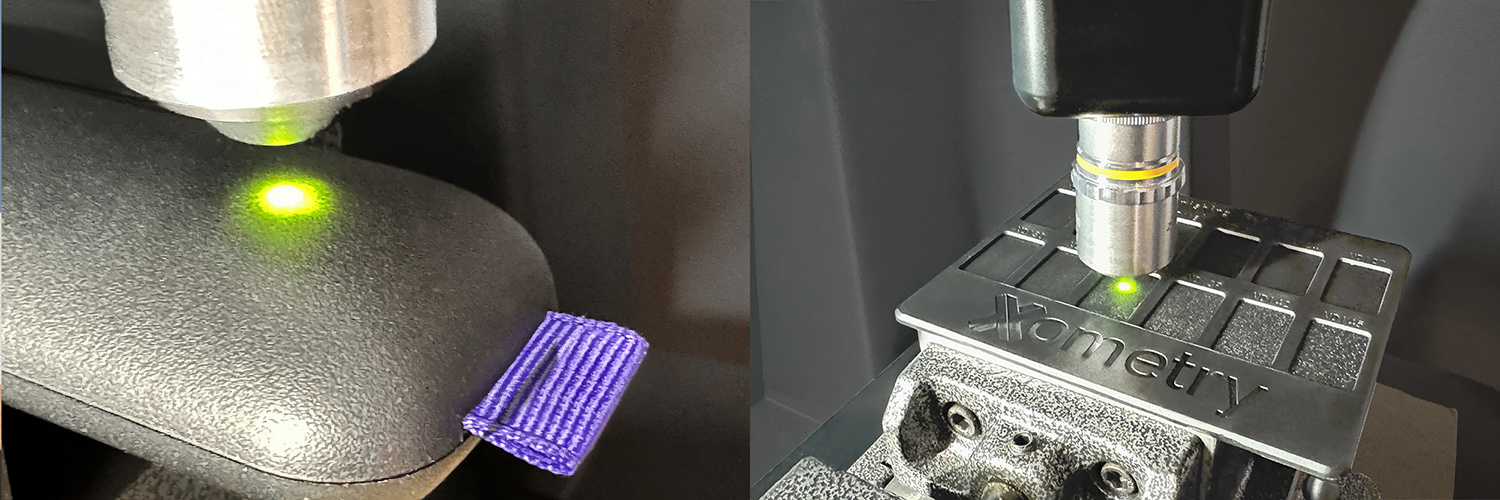
Gathering data: measuring a plastic texture and VDI texture card using a Zygo ZeGage Plus.
What can numerical data do for me?
Numerical measurement data provides a number of important benefits:
Tracking changes over time
A surface texture parameter such as average roughness (Ra, or Sa), can indicate whether a surface or process has changed. While average roughness can’t tell you everything you may need to know about a texture, it does provide traceable data that can show trends over time—and that’s a big step forward.
Quantifying texture and defects
Numerical measurement data can be used to establish process controls and improve communication up and down the supply chain. Specifying the maximum dimensions for drag lines, for example, removes any subjectivity about what is acceptable—and that can avoid costly disputes with suppliers or customers.
Quantifying functional surfaces
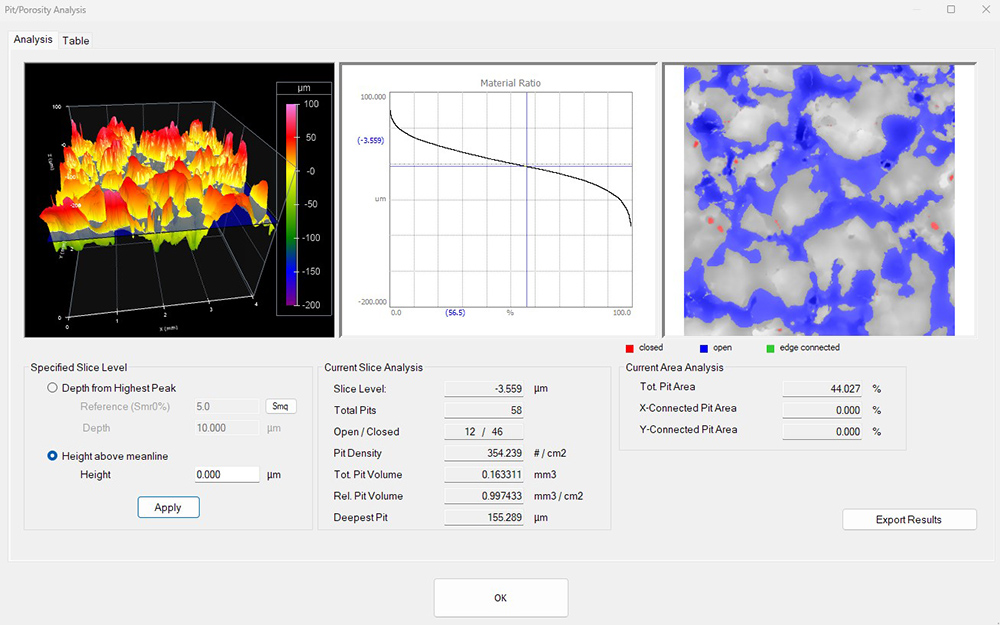
For functional surfaces, you may need more than a single parameter like Ra. A combination of parameters may be required. For example, a parameter such as Summit Curvature can describe the “sharpness” of the peaks in the texture. Analysis based on thresholds can describe porosity, which may be important for fluid or lubricant retention. Dozens of other parameters have been developed to track all aspects of texture!
Advanced analyses, like this Pit/Porosity analysis in OmniSurf3D, can help control aspects of functional surfaces.
Analysis software can provide a bridge
Software that lets you visualize surfaces as well as generating numerical values can be the bridge to determining how to control a surface. The image below shows the surface of the remote control (above) in OmniSurf3D surface texture software. Software like this can help you visualize and explore surface texture while also calculating surface texture parameters.
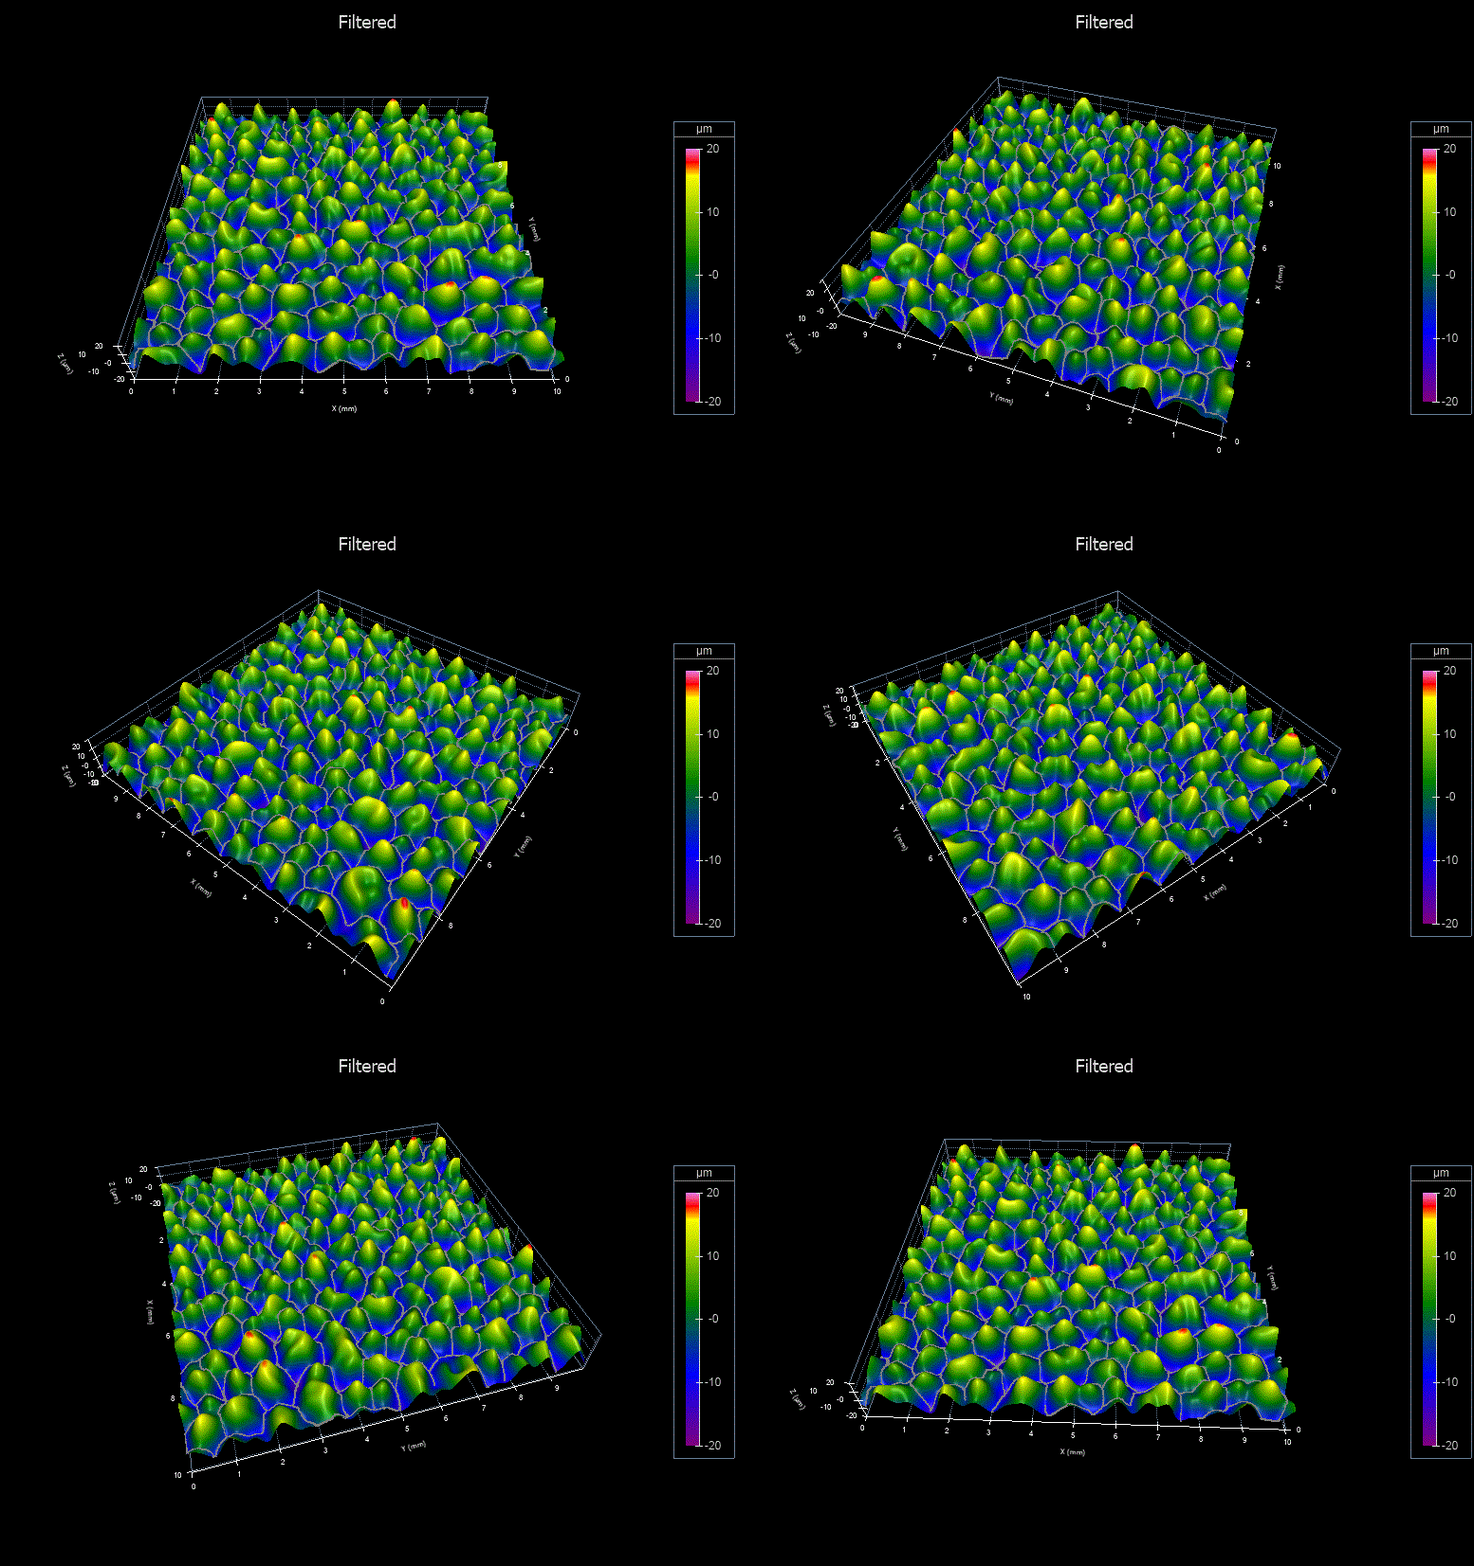
OmniSurf3D’s filtering and feature detection applied to a Mold-Tech MT-11415 surface.
In many cases, software like OmniSurf and OmniSurf3D can help you to determine the best way to control a surface. Once you’ve figured out an inspection recipe, a simple production measurement may be all that’s required to track the values and control the surface.
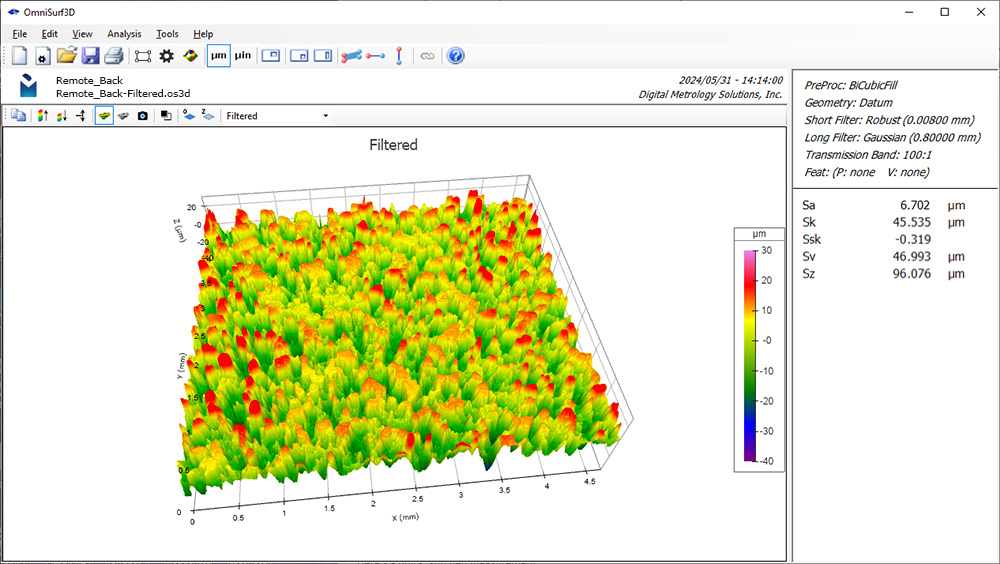
A stitched image of a plastic surface texture. OmniSurf3D lets you see the texture as well as providing key surface texture parameters.
Want to see more of textured plastics? Visit our Surface Library, where you can download 3D measurement data of a number of Mold-Tech and VDI 3400 sample textures.
Need help figuring out how to control your surfaces? Contact us to set up a time to talk. We have a lot of expertise in this area, and we’d be glad to help out.

