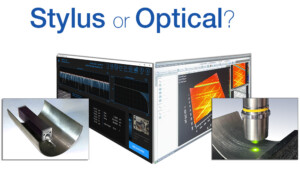
Thinking of “upgrading” from a stylus? Think again!
“Why would you use that antique measuring system? Today we have optics!” If you use a stylus based system (aka a “profilometer” or a “roughness gage”) to measure surface texture you may have heard some version of that statement over the years. Measuring with a stylus can seem low tech or even old fashioned…but in
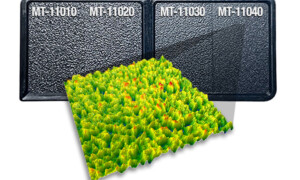
Did I make a good MT-11010 surface?
Mold-Tech created a set of standardized surface textures that can be applied to injection molded parts. The Mold-Tech MT-11010 texture is one of the more common surfaces for appliances, automotive panels, and consumer electronics. It’s a sand-like texture that hides plastic shine, molding defects, fingerprints, and minor dings and damage. But what makes an MT-11010…an
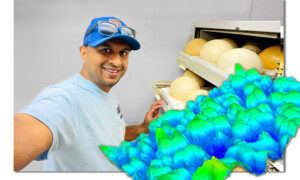
OmniSurf3D Powers Eggshell Research
We spend a lot of time in the world of manufacturing—measuring cylinder walls, additive plastics, and the like. But 3D surface texture analysis goes into so many interesting place…sometimes even back in time! Dr. Thilina De Silva, an ornithologist and evolutionary biologist, is currently part of a team that’s creating a database of the surface
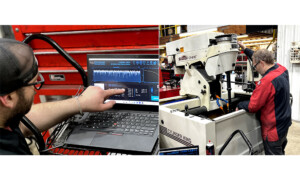
KD Customs Makes it Happen with TraceBoss+
We write a lot about how controlling surface roughness can help you find untapped performance. It’s not often, however, that we get to write that it made the difference between a company staying in business or closing! Kyle Duernberger is the owner of KD Customs, a Wisconsin-based diesel engine machine shop. The company specializes in

Quality problems? You don’t have to live with them!
Just about every week a company contacts us saying they’re stuck with a quality problem with no clear solution. Do any of these issues sound familiar to you? • Our parts meet spec, but they’re failing in the field • We can’ t trust our suppliers’ components, because we don’t know what they’re measuring •
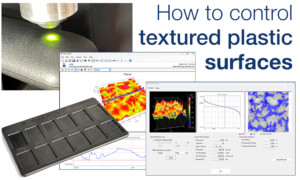
Textured plastics
How can you control textured plastic surfaces? Samples on texture cards are a quick way to specify aesthetic surfaces, but they may not give enough information to control more functional surfaces. In this post we look at how surface texture software can help you visualize and explore textured surfaces, as well as providing parameters that
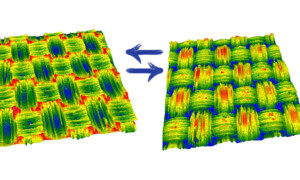
Surface texture and pickleball…another chapter!
There’s a lot of science involved in pickleball equipment! We visited this topic a few months ago (digitalmetrology.com/pickleball-paddles/), and the topic continues to gain…traction. First, here’s an interesting surface from a paddle I purchased a few weeks ago: Specifically, this is a JOOLA Perseus MOD TA-15 paddle. Here it’s being measured under the Zygo ZeGage:
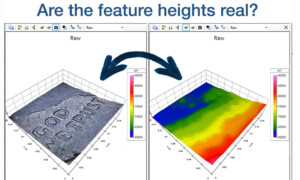
Don’t be fooled by your measuring microscope!
Have you ever used an optical microscope to look at dimensional features? It’s a fairly common task to look at lateral features such as circumferences on relatively flat components like plates, panels, and even circuit boards. Many measuring microscopes (or “optical dimensional microscopes”) also incorporate some method of optically measuring heights—and thus many systems report
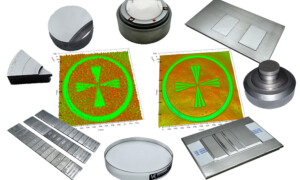
Instrument performance testing
Here’s a common challenge: your vendors and/or customers are using different equipment to verify part quality…and their results conflict. How can you determine which system is “correct?” Here’s another common issue: you have a new measurement requirement, but you’re not sure which instrument can do the job best. Vendors give you specs, and even demos,
