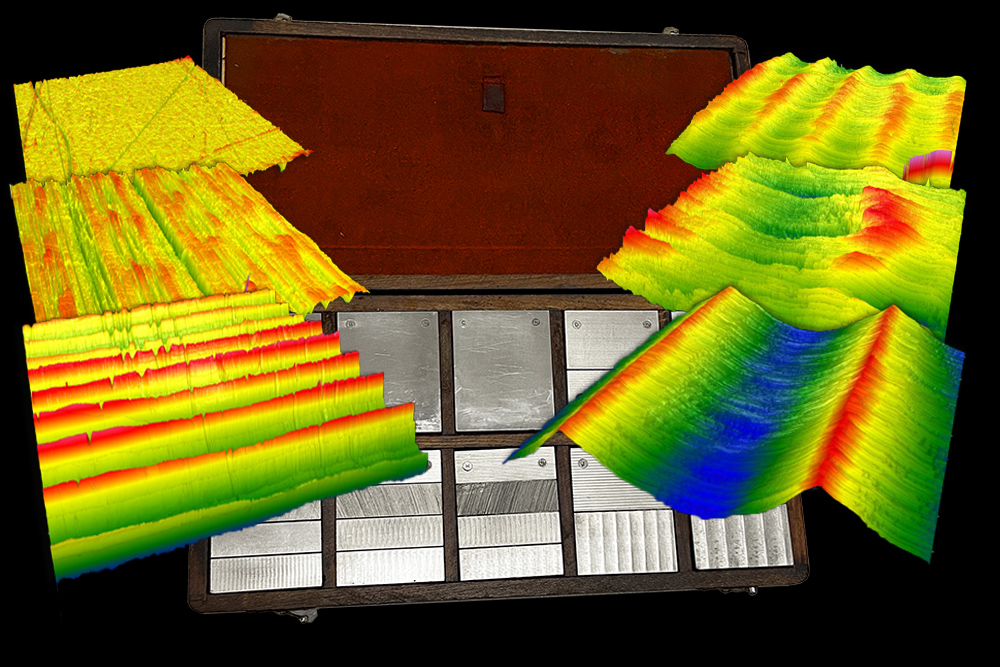
GE 8651831G1 roughness specimens have been (historically) very popular in the measurement of surface texture. They show up in a lot of places… in documents and standard operating procedures, as well as for sale on eBay and industrial supply resellers.
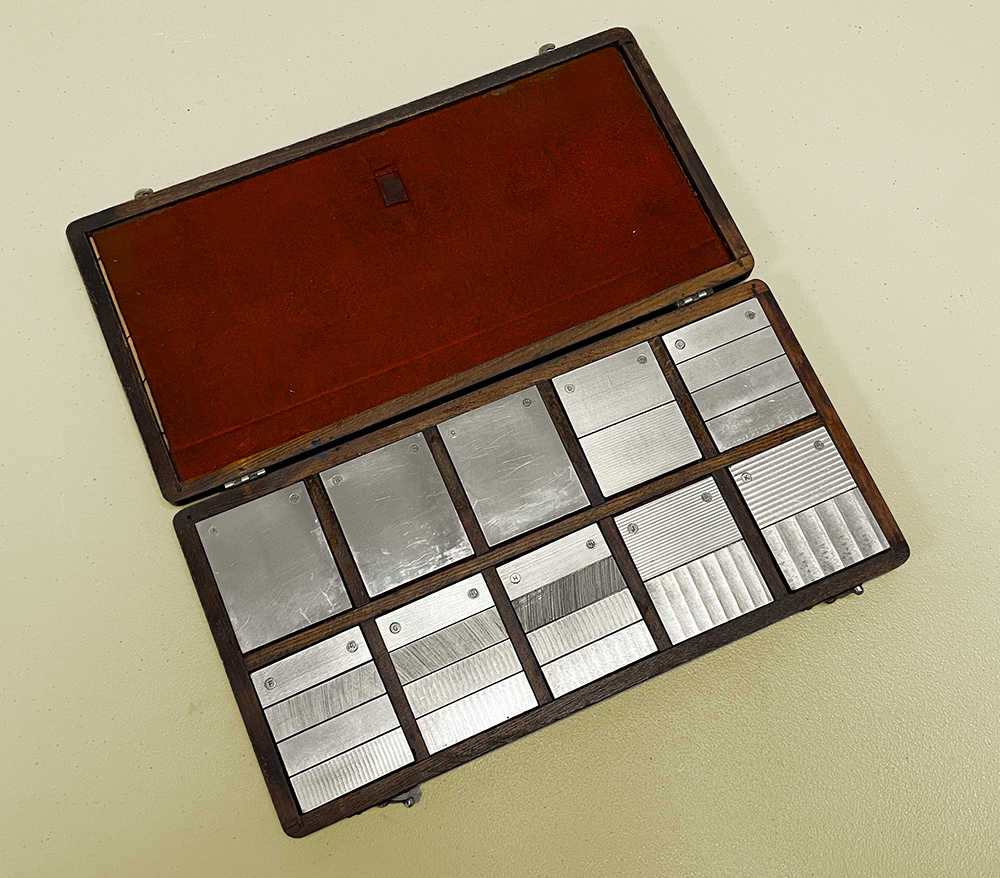
Many of these specimens have been in use for a long, long time and definitely have some wear and tear.
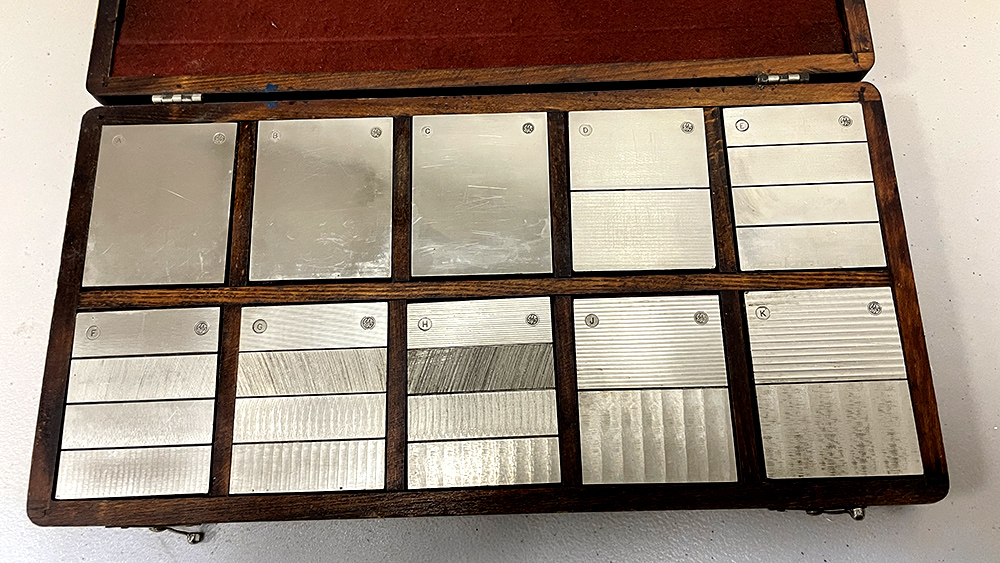
But how good are they in today’s terms? We put a full set of well-used specimens under the ZeGage lens and are happy to share the datasets with you. They are interesting in several ways:
- for exploring the certified roughness values (expressed in “microinches”) on the certificate.
- for exploring various types of surface damage including deposits as well as scratches.
- for exploring the slope and spacing differences for surfaces which are said to have the “same” roughness values.
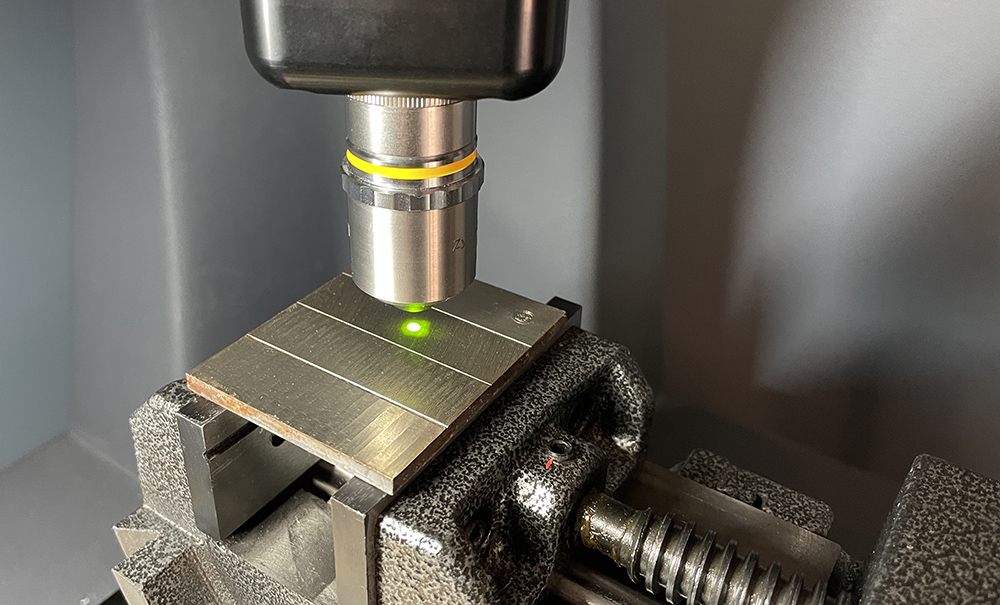
Measured via Zygo ZeGage Plus (2.75x)
Data source: Digital Metrology
Data format: .os3d (open with OmniSurf3D)
Datasets in this group
Please log in below to download the datasets. If you’re new to the page, please take a moment to register here.
I forgot my password
How to cite
If you use this dataset, please reference it as follows:
Digital Metrology Solutions. “Surface Library.” Digitalmetrology, digitalmetrology.com/dataset/ge-roughness-specimens. Accessed Feb 05, 2026.

