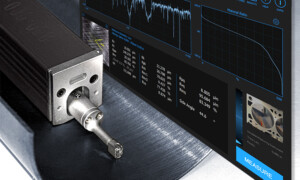
Are those valleys in my measurement data real?
Can I trust my measurement? Asking that question every time we measure drives us to be careful—and that keeps us producing meaningful results. Let’s look at a “simple” shop floor measurement of surface finish, made with a skidded instrument. And, let’s explore something that you might not imagine: “upward” dirt on the surface can cause
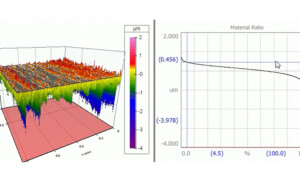
The Material Ratio Curve
The “material ratio curve” tells us how much material we encounter (as a percentage) as we slice through a surface at various depths. You may also see it called the Abbott-Firestone Curve (based on the two engineers who developed it) or the Bearing Ratio Curve. The curve appears is a standard component of our OmniSurf,
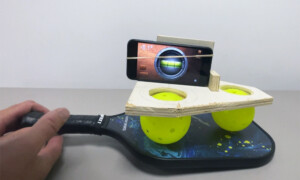
Pickleball paddles: does “rougher” equal “more friction?”
It seems like the sport of Pickleball is everywhere these days! It’s definitely a game of skill…but having the right equipment doesn’t hurt, either. We were curious how big a difference there might be between Pickleball paddles, so we put a couple under the microscope (this is the kind of thing we do for fun).
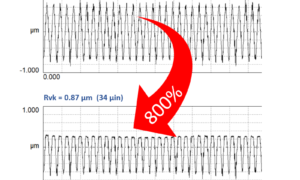
Don’t be fooled by Rvk!
The Rk parameters (Rk, Rpk, Rvk, Rmr1, Rmr2) are commonly used to specify and control plateau honing. However, there is a particular aspect of these parameters that can fool you… and it’s all about Rvk. Let’s take a step back and look at the plateau honing process. We start by honing a relatively rough, semi-finished
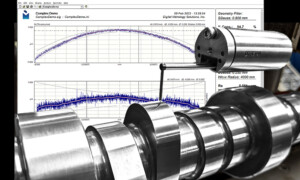
Finding performance—an interview with Billy Godbold
Controlling surface texture requires graphical data—and teamwork You’ve seen that controlling surface texture offers huge benefits for performance and wear. You’ve made the investment in measurement equipment. So, is there any benefit in spending more money on additional analysis software? We asked one of the most successful people in motorsports to find out. Here’s a
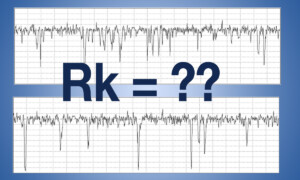
A tale of two surfaces – challenges with the Rk Parameters
Many of us have seen these pictures of surfaces that the average roughness parameter, Ra, cannot distinguish between: However, you may not have seen different surfaces with the same values for the entire Rk family of parameters. For these Rk parameters: … we could have these two different surfaces: While the differences between these
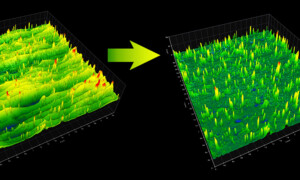
Analyzing additive surfaces with directional filters
When analyzing surface texture, we often need to separate specific features from the overall texture in order to analyze them. Isolating features from a complex background, however, isn’t always easy. Analyzing a surface created by laser powder bed fusion (LPBF) In laser powder bed fusion (LPBF), an additive manufacturing technique, components are built up layer-by-layer
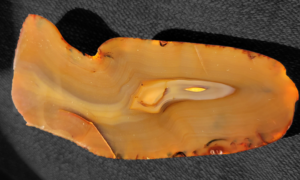
What does it take to make a stone look and feel great?
What makes a stone feel good in your hand? What magnitude of surface roughness is required for it to feel that way? We recently collaborated with stone enthusiast and retired metrologist Bob Rother to find out. Rother wanted to combine his passion for “rock hounding” with his background in process engineering and precision measurement to
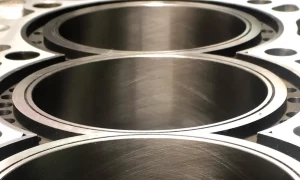
What’s In Your cylinder bore?
Engine cylinder bore surfaces are among the most “engineered” surfaces in the world. Millions and millions of hours (and dollars) have been spent on testing and optimizing these surfaces. And countless magazine and journal articles have been published on these surfaces. Despite these efforts, we find that there is no single, “one size fits all”
